
Quick Nav
- Criteria for selecting this checklist
- Scope and official requirements
- Vendor paperwork and permits
- Food safety and inspection prep
- Booth setup, power, and weather
- Staffing and customer flow
- Cleanup before closing
- Final walkthrough
A Smoother Fair Day Starts Before You Arrive
Outdoor fair vending has a way of exposing small gaps fast. Morning dew softens the grass. The first wave of families arrives before every bin has found its place. Power access may sit farther from the booth than expected. An inspector may ask for a thermometer while the lunch line is already forming.
That is the real work behind a good-looking food booth at a community agricultural fair in Ledyard, Connecticut. The sign matters. So does the menu board. But the booth only runs well when paperwork, food holding, handwashing, staffing, weather protection, and cleanup all line up before the truck door opens.
Many Ledyard Fair food vendors work from 10-by-10 foot grass plots, often after setting up over damp early September ground. That changes the packing list. A sturdy tent, weighted legs, dry storage, safe cords, and quick access to compliance documents do more for service than one more decorative banner.
This checklist is built to reduce forgotten items and last-minute questions. It does not replace vendor instructions from the Ledyard Fair Association, health department direction, fire code requirements, or insurance terms. Treat it as the working sheet you review before the official documents go in the front seat.
Criteria for This Outdoor Food Vendor Checklist
The items here earned their place because they affect readiness in an outdoor fair setting. Compliance comes first, followed closely by safe food handling, booth operations, customer flow, and cleanup.
Repeat visits showed the same pressure point at agricultural fairgrounds: Friday afternoon load-ins move quickly, and the setup window typically spans 3 to 5 hours. Vendors who arrive with answers already sorted spend that time building a workable booth. Vendors who arrive with loose ends spend it looking for the right person, the right outlet, or the missing handwashing piece.
The checklist favors tasks a vendor can confirm before arrival. Not vague advice. Not “be prepared.” A food vendor should know whether the application cleared, who handles day-of questions, where the booth sits, what permit applies, how cold foods stay at or below 41°F, and whether hot foods hold at or above 135°F.
Ledyard Fair traffic also has its own rhythm. Families browse, children pause at animal areas, exhibitors move between barns, and food lines rise around entertainment breaks. A booth needs to serve a parent ordering for four just as easily as it serves a volunteer grabbing a quick sandwich between assignments.
For a simple example, picture a booth selling pulled pork sandwiches with chilled slaw. That booth needs hot holding, cold holding, gloves or utensils, handwashing, covered prep areas, menu pricing, staff roles, allergy answers, trash handling, and a plan for grease or liquid waste. One missing piece can slow the whole line.
Scope: What This Checklist Does and Does Not Replace
This is a planning checklist for outdoor fair food vendors. It is not legal advice, health department advice, fire code advice, or insurance advice.
The fair organizer coordinates placement, load-in flow, vendor communication, and fairground logistics. Food safety requirements come from the appropriate public authority, including guidance from the Connecticut Department of Public Health Food Protection Program. Insurance requirements may come from the event, the carrier, the municipality, or another party named in the vendor packet.
Note: Verify current requirements with the Ledyard Fair Association and the appropriate local or state authority before the event. One catch: this checklist assumes you are operating under a temporary food service permit; vendors with mobile food truck licenses may face different inspection timelines and equipment mandates.
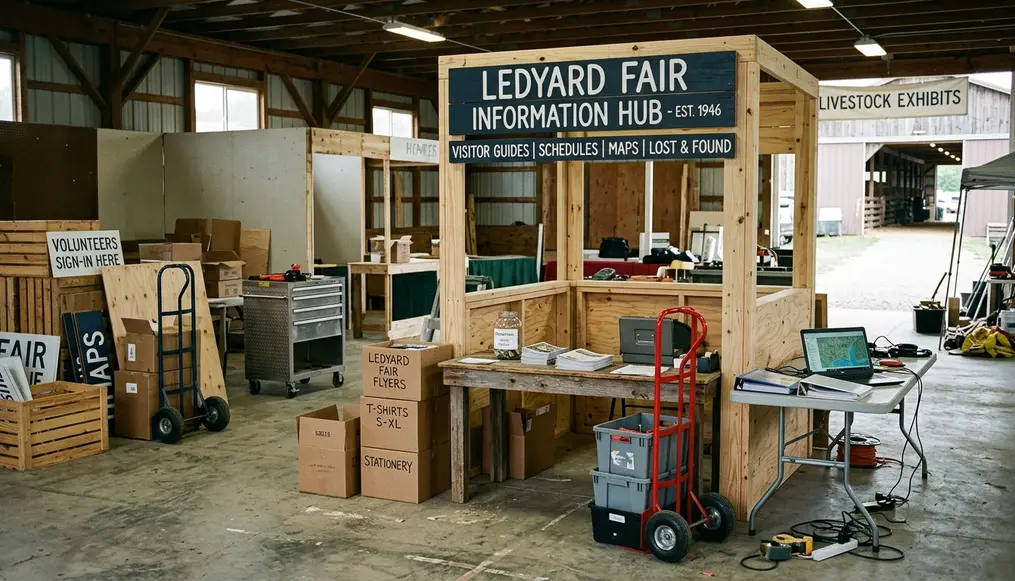
If your check-in route sends you near Cy Anderson Fellowship Hall, or if your booth assignment changes after the initial map, use the official vendor contact rather than relying on another vendor’s memory. Fairgrounds move on practical coordination, not rumor.
The Outdoor Fair Food Vendor Checklist
-
1. Confirm Your Vendor Paperwork
Start with the boring folder. It earns its space.
Confirm your application status, booth assignment, payment confirmation, insurance documentation if required, and the best contact for day-of questions. Keep digital copies, but bring paper copies too. Phones die, cell service gets crowded, and a printed certificate can settle a question in under a minute.
For the pulled pork booth, the paperwork folder should sit above the food inventory, not under it. The first person to open the vehicle should be able to find the approval email, booth number, permit documents, insurance certificate if requested, and contact name without unpacking coolers.
Also confirm any sponsor or exhibitor visibility rules if your booth includes partner signage. Sponsor coordination works best when banners, table signs, and logo placement follow the fair’s instructions before setup begins.
-
2. Verify Food Permit and Health Requirements
Check temporary food service rules before you build the menu. A menu that looks simple on paper can create extra handling once it reaches the booth.
Review permit status, approved menu items, temperature control needs, handwashing expectations, utensil handling, sanitizer setup, and any inspection timing. If the inspector arrives while staff are still looking for a probe thermometer, the booth starts the day behind.
Hot foods need a plan to stay at or above 135°F. Cold foods need a plan to stay at or below 41°F. A standard residential cooler may not support that job well enough for a long outdoor service day, especially when staff open it repeatedly during a rush. Commercial cold-holding equipment or a properly managed cold-holding setup gives the team a better shot at staying ready.
Think through the sequence. Cook. Hold. Assemble. Serve. Clean. Each step needs its own space, tool, and person when the line grows.
-
3. Pack for Booth Setup, Power, and Weather
A food booth on grass behaves differently from a food booth on pavement. Legs settle. Table feet wobble. Boxes wick moisture. Wind finds the weak corner of the tent.
Bring tent weights that match the event requirement. A practical target in many outdoor fair setups is roughly 40-pound tent weights per leg when required by the organizer. Do not count coolers, water jugs, or product boxes as a substitute unless the fair has explicitly approved that approach.
Power deserves the same discipline. Pack outdoor-rated cords, and verify gauge and length before arrival. For many booth layouts, 12-gauge outdoor-rated extension cords up to about 50 feet belong on the short list, but distance from the fairground’s temporary power drops can change the requirement. Ask before buying the wrong cord.
The cheapest cord is not cheap if it keeps the booth from opening.
Pack ground cover for staff areas, clips for table covers, dry storage tubs, extra towels, rain protection for paper goods, and lighting if your service continues into lower light. Early September weather can feel gentle at noon and damp at opening.
-
4. Set Your Staffing and Customer Flow Plan
Good staffing starts with jobs, not headcount. One person takes orders. One handles payment. One assembles food. One watches holding temperatures and restock needs when volume rises.
If the same person takes cash, touches packaging, answers allergy questions, and runs back to the cooler, the line will teach the lesson quickly. Split the work before the fair opens.
For the pulled pork booth, a clean flow might run left to right: order point, payment, assembly, pickup, napkins and condiments. Keep the pickup area away from the order point so customers who already paid do not block new orders. Place menu pricing where people can read it before they reach the front.
Staff should know the day-of contact, the restroom or handwashing arrangement, emergency procedure basics, and what to say when a customer asks about ingredients. A short pre-service huddle beats a dozen shouted corrections after the rush begins.
-
5. Prepare Your Payment and Menu Backup
Payment tools need redundancy. Bring charged devices, a backup reader if you use one, cash change if your booth accepts cash, and a written price list.
Do not rely on a single phone for every transaction. Outdoor events strain batteries, screens get wet, and networks can slow when the fairgrounds fill. A printed menu board keeps the line moving even if a tablet needs to reboot.
Keep tax, tip, and combo pricing simple enough for staff to explain under pressure. If a customer asks, the answer should take seconds.
-
6. Plan Cleanup, Waste, and End-of-Day Reset
Cleanup is not the last task. It is part of booth design.
Pack trash bags, gloves, sanitizer, towels, a broom or small sweep kit, covered containers for transport, and whatever your operation needs for grease or liquid waste. Confirm disposal instructions before the event. Never assume that a fairground trash barrel can take everything your booth produces.
At closing, staff should know what gets discarded, what returns to cold storage, what gets cleaned on site, and what gets sealed for transport. Label bins before the day begins. Tired people make better choices when the correct container is already marked.
Final Walkthrough Before You Leave for the Fairgrounds
Give the vehicle a 15-minute pre-departure check before leaving for the fairgrounds. Not a casual glance. A real walkthrough.
Start with paperwork. Confirm the vendor folder, permit documents, booth assignment, payment confirmation, insurance paperwork if required, and day-of contact information. Then move to food safety gear: thermometers, handwashing supplies, sanitizer, gloves or utensils, holding equipment, and temperature logs if your operation uses them.
Next, check booth equipment. Tent. Weights. Tables. Ground cover. Outdoor-rated cords. Lights. Menu board. Tape. Clips. Rain protection. Trash supplies. Payment tools. Charged batteries. Staff phone numbers.
End with the first-open bin. This bin should be the first thing off the vehicle and the last thing checked before departure. It keeps the booth from turning into a scavenger hunt while the fairgrounds are already waking up.
Summary: The strongest vendor booths are not only appealing to customers; they are organized, inspectable, weather-ready, and easy for staff to operate.
Quick Tip: Place paperwork, thermometer, handwashing supplies, and payment backup in a clearly labeled first-open bin.
A fair booth does not need to be fancy to run well. It needs the right items in the right order, with staff who know where to look before the first customer steps up.


Comments
No comments.
Write a Comment