Quick Nav
- 1. Animal Exhibit Areas: Look at the Care Around the Animal
- 2. Garden and Harvest Displays: Notice What Growers Choose to Show
- 3. Judged Entry Displays: Read the Category Before the Ribbon
- 4. Handmade Exhibit Tables: Find the Work in the Details
- 5. Beside an Exhibit: Ask How the Work Began
- 6. Volunteer and Help Points: Notice the Work That Keeps Visits Moving
- 7. Shared Fairground Spaces: Watch What People Notice Together
An Agricultural Fair, Seen One Stop at a Time
The Ledyard Fair is an annual community agricultural fair in Ledyard, Connecticut. When I walk the grounds to document the fair association and its heritage, I skip past trying to map a rigid chronological timeline onto the tents and barns. Instead, I look at the immediate, physical tasks happening right in front of the crowd. You can read an agricultural tradition through the tools, tags, and routines that exhibitors bring through the gates.
We built this field guide around seven portable observation prompts rather than fixed building coordinates. Exhibit locations and offerings can change, so use the current fair layout to choose the stops available during your visit. By shifting your attention to present-day, observable work—active bedding maintenance, uniform harvest selection, and volunteer wayfinding—you see how seasonal community events actually function from the inside out.
1. Animal Exhibit Areas: Look at the Care Around the Animal
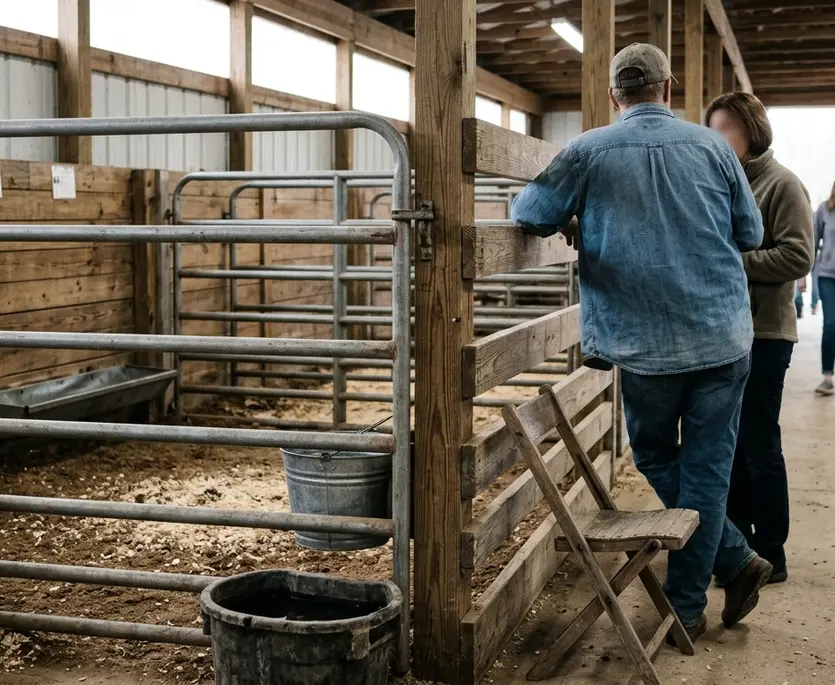
Step into any livestock area and your eye naturally goes straight to the animals. Take a second look at the perimeter of the pen instead. The real story of agricultural exhibits and competitions sits in the bedding depth, the clipped water containers, the stacked feed equipment, and the swept buffer space maintained around the animal.
These ordinary objects connect public exhibiting directly to daily home husbandry. Livestock exhibitors routinely manage chore cycles every 4 to 6 hours on the grounds to keep bedding dry, water topped off, and aisles swept between public viewing rushes. Furthermore, grooming, washing, and halter-training routines typically begin 3 to 6 weeks before the gates open so animals remain calm in crowded walkways. Observing a clean bucket or fresh wood shavings tells you about the handler's schedule and work ethic. Keep that observation distinct from guessing an animal's medical health, specific home treatment, or where it might land in the judging results.
Barn Aisle Observation Prompt
When walking through with family, pause near a pen and split your search into two parts: identify one piece of gear that needed attention before visitors arrived at the gate, and one task that will need attention after the crowds leave for the night.
2. Garden and Harvest Displays: Notice What Growers Choose to Show
Walk over to the tables holding garden and harvest entries. Visitors often look for the biggest vegetable in the room, yet seasoned growers care far more about consistency and surface condition. When a gardener pulls an entry from a home row, they weigh uniformity over sheer weight, trimming roots or stems to match standard table presentation rules so every plate looks intentional.
Look closely at how an entry is grouped and arranged on its plate. Multi-specimen vegetable plates typically require 3 to 5 matching items—such as peppers, tomatoes, or root crops—selected for identical length, diameter, and maturity. Perishable garden entries are usually harvested and dry-brushed within 12 to 24 hours of exhibit hall check-in so skins stay firm under indoor lighting. You are looking at the final step in a long chain of planting, tending, harvesting, and sorting.
Stick to what the produce in front of you shows. You can admire the tight skin on a trio of onions or the uniform stem trim on squash without assigning undocumented growing methods, assuming specific local farm origins, or guessing at historical seed varieties.
3. Judged Entry Displays: Read the Category Before the Ribbon
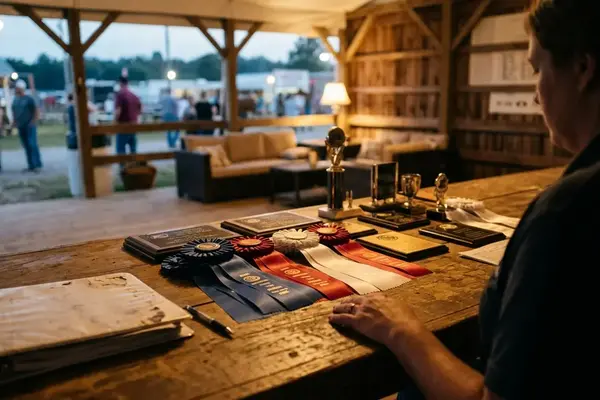
When standing in front of competition tables, most people scan for colored ribbons first and assume a single item beat out the entire table. Reverse that reading order. Look at the printed entry tag and read the displayed class name before your eyes ever drift to the award.
Reading the tag first changes how you evaluate the work on the table. An individual exhibit tag breaks entries down into specific divisions and classes, ensuring a youth entry or a particular plant variety is evaluated only against peers in that exact group. Spotting a ribbon tells you an outcome; reading the category tells you what kind of work was actually entered and the exact boundaries of the competition.
Treat the posted entry card as your primary contextual evidence during your walk. It identifies the specific task and division standing directly in front of you, which keeps you from inventing judging criteria, guessing what award colors mean across different departments, or assuming how class results were scored.
4. Handmade Exhibit Tables: Find the Work in the Details
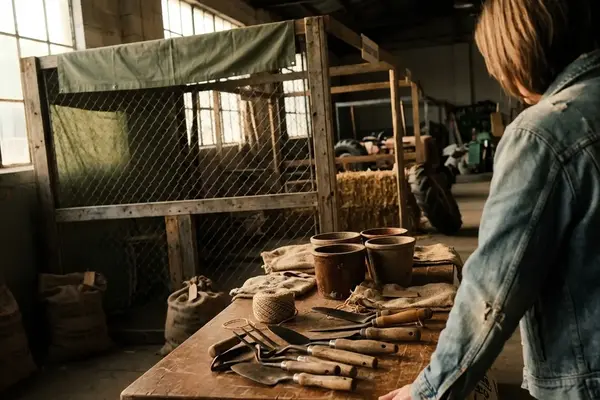
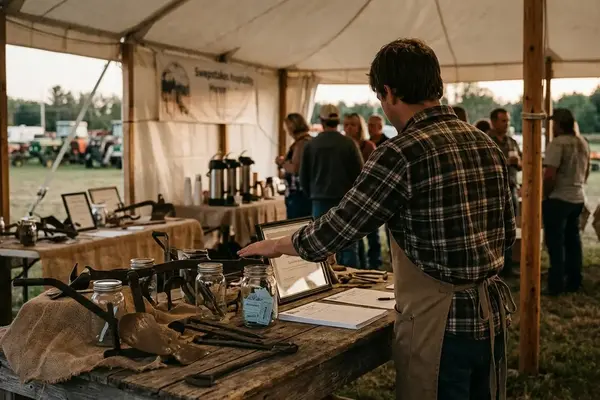
Move from the harvest plates to the handmade entries—textiles, woodwork, and domestic crafts. Here, we set competition tags aside to look strictly at construction. Because visitors must examine these pieces without touching them, your eyes have to do the work along the transitions.
Scan the object for seams, edges, structural joins, and repeated patterns. Look at where a wooden corner miters, where a quilt binding turns a sharp angle, or where a stitch pattern crosses a seam without puckering. In hand-stitched or knitted pieces, maintaining an even tension across 10 to 20 inches of continuous work is often where practiced technique separates from a rushed finish. A finished object makes quiet patience and learned muscle memory completely visible on the table.
Try a simple exercise at the next craft display. Keep your hands behind your back, lean in slightly, and pick out one single construction detail that would be difficult to repeat consistently fifty times in a row.
5. Beside an Exhibit: Ask How the Work Began
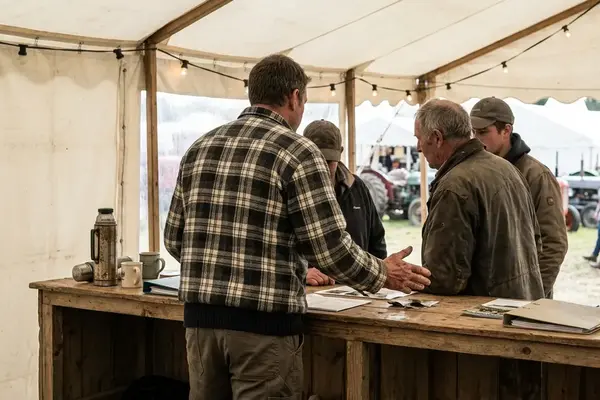
Objects tell you how something was built, while vendors and exhibitors tell you why they built it. Shifting from examining tables to listening to the people presenting them opens up a different layer of the fair. Treat exhibitor conversations as a welcome opportunity when someone is clearly available, rather than a scheduled customer service stop.
Timing determines whether an exhibitor can stop to talk. Approaching someone while they are resting beside an already-tidied pen or monitoring an open display table invites a genuine conversation, whereas stepping in during feeding, watering, or ring preparation interrupts critical work. When the moment is right, try asking two practical questions:
- "What took the most preparation?"
- "What would you want a first-time visitor to notice?"
Keeping a conversation to 2 to 3 minutes around these two focused questions respects an exhibitor's barn schedule while leaving room for other families. The answers you get will highlight false starts, timing decisions, and personal meaning that a static display table alone cannot communicate.
6. Volunteer and Help Points: Notice the Work That Keeps Visits Moving
Turn your attention away from the exhibits for a moment and look at the intersections where visitors receive directions or practical help. Community gatherings of this scale run on real-time coordination. Volunteers and supporters manage wayfinding and ground support by reading crowd flow in real time, stepping forward to direct families toward open exhibit halls or answering layout questions before foot traffic bottlenecks near entrances.
Watching a helper point out a path or clarify a schedule connects a five-second interaction to the broader organization required to host the town. You do not need to know a helper's biography, service years, or committee title to see the value of the role. Make their logistical work part of your route: the next time you see an identified helper at an intersection, step up and ask where to find an exhibit category you have not visited yet.
7. Shared Fairground Spaces: Watch What People Notice Together
Finish your walk in the open walkways and shared spaces between exhibits, where neighbors pause, compare impressions, or look at their maps to decide what to see next. Even when you are between the main entertainment and attractions, these open lanes are where a fair visit becomes participatory rather than a solo checklist.
Listen to how families talk about an entry they just passed, or watch a group turn around to double-check a detail on a display table they nearly missed. Comparing notes in the walkway turns individual observations into shared community memory.
Walkway Field Checklist
At your very next stop on the grounds, challenge your group to spot three specific things before moving on: one active care task, one made or grown detail, and one person helping the visit happen.
Every single multi-specimen vegetable plate sitting calmly under the hall lights represents 3 to 5 matching items that a grower harvested and dry-brushed within 12 to 24 hours of check-in just to keep the skins firm for your walk-through.


Comments
No comments.
Write a Comment